Why you should make your own
As a sports mom I have about 10 parent shirts with various team names on them and at $20 a piece it's quite the expensive collection. I decided while sitting at baseball practice in the 30 degree weather that it was pointless to have a parent shirt when I'm bundled in a hoodie and nobody can see my team spirit. It was at that moment that I decided to use my cricut to create my own personalized hoodie. I had bought a neon pink hoodie for $6 on Black Friday at Walmart and I was determined to put it to good use. Follow me while I take you step-by-step in creating your own masterpiece.
Items you will need
1. A t-shirt, hoodie, tank top, tote bag, etc. (whatever you would like to create)
2. Heat transfer vinyl (in the color of your choice. I went with black glitter.)
3. Iron
4. Cricut Electronic Cutting Machine
5. Either the Sure Cuts A Lot Software or a Cartridge with your desired image.
Step 1
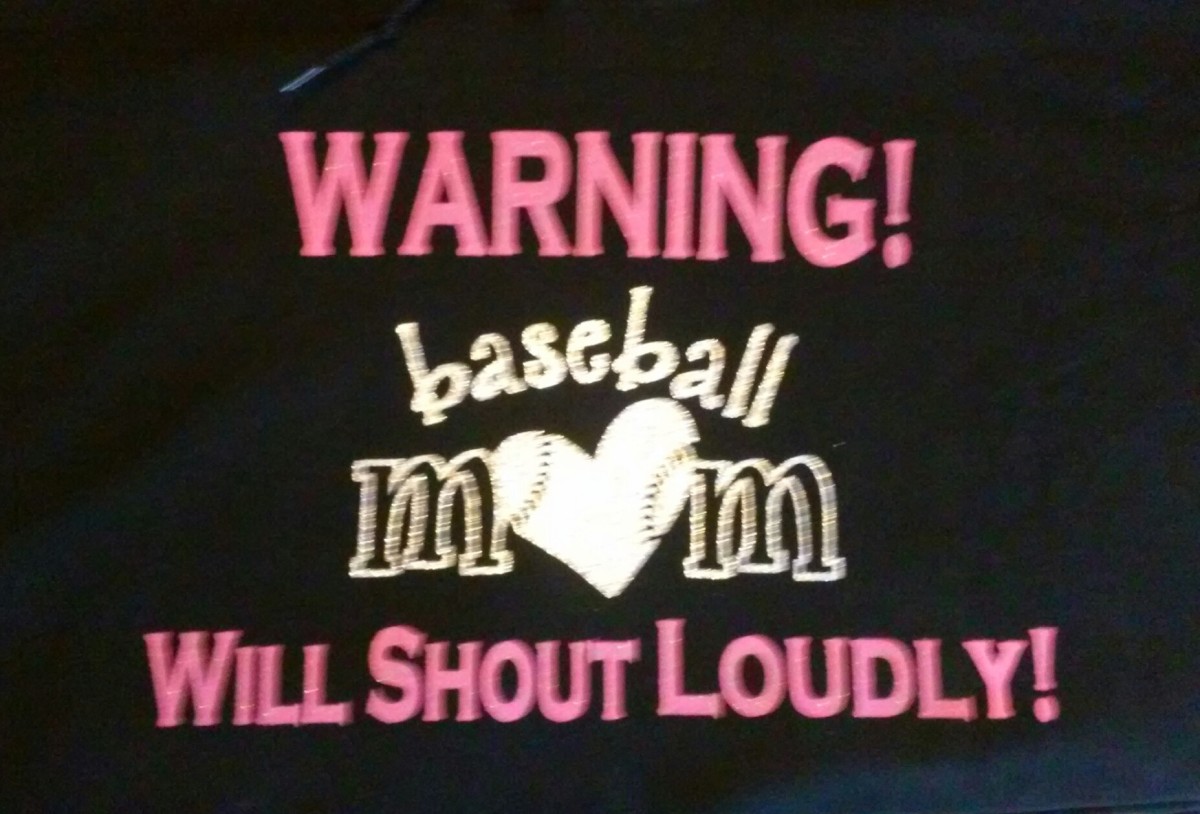
Open your software and choose your design. I chose a Baseball Mom design that way I'm not team specific and can wear it for years. I made mine take up my entire mat (6x12). Make sure to flip your image so that is a mirror image. You'll also want to chose the "Weld" option anytime you have a large design with overlapping pieces or cursive; this makes it one large item instead of having breaks in random places.

Baseball Mom Iron-On
Step 2
Cut your heat transfer vinyl to size (6x12). Place the vinyl face down on the mat. (Your clear plastic layover should be face down.) Adjust your machines depth and pressure settings. (I set both at 3). Load paper. Cut.
Step 3
Once you have cut your image out you will need to remove all the pieces that will not be ironed on.
Set your Iron to Cotton. Iron the area for 5-10 seconds before you place the image on.
Place the image onto your shirt. Leave the clear film on wile ironing. Use another shirt between your iron and image to keep from melting the plastic film. Iron entire image for 30 seconds. You should be able to remove the clear film cleanly. Run the iron over it for several more seconds.
Your shirt should be complete.
Finished Product
Click thumbnail to view full-size

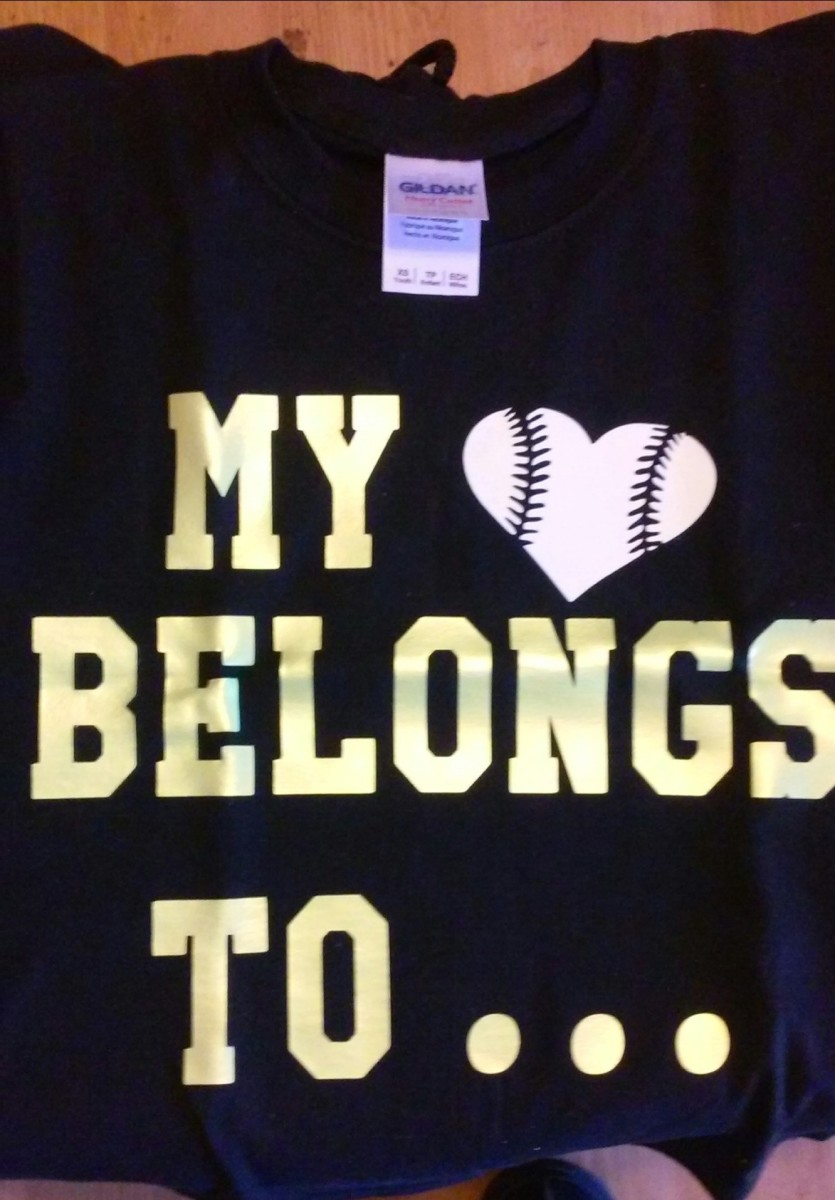

Front
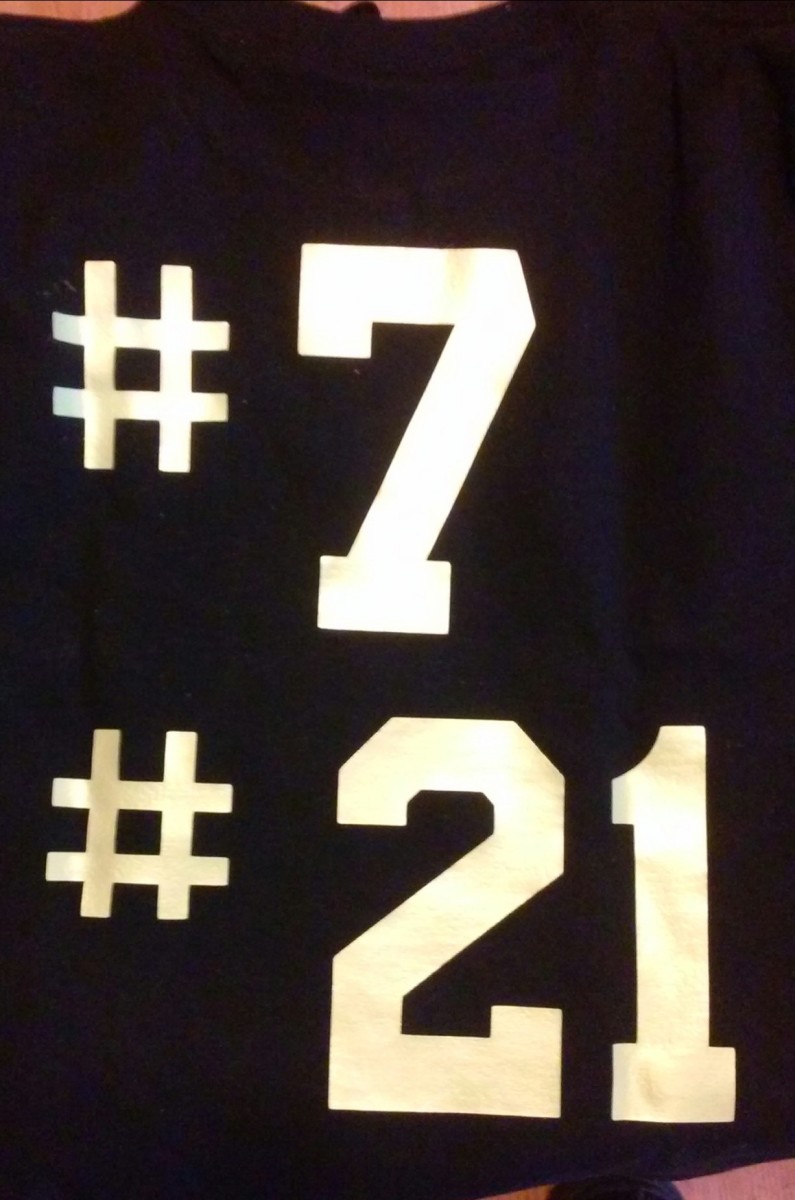
Ideas.
I also decided to put my sons baseball # on the back because mine was baseball related.
This can also be used for:
Monogramming a tote bag.
Personalizing your children's t-shirts or book bags.
Personalize your camping chairs so nobody takes home the wrong one (I've learned this from experience.)
Monogram a scarf.
Make t-shirts for family vacations so you can easily find everyone in the same color (example: Disney)
Make t-shirts for Family Reunions.
Source:hubpages
No comments:
Post a Comment